Pool cleaning one of the important task if you have a pool. the most asked question by my client is “How long does it take to clean a pool” and my answer is its totally ups to you. here i gonna share some detailed easy and quick method to clean your pool.
A glittering, spotless pool is a refuge of enjoyment and relaxation, but keeping its crystal-clear waters needs work and attention to detail. We will look at a variety of topics of pool cleaning and upkeep in this extensive tutorial. We will delve into the subtleties of pool care, covering everything from why pool cleanliness is important to methods and advice for effective maintenance.
We will also provide precise answers to concerns like the duration it needs to clean a pool following different incidents and seasonal variations. In the following, we are going to discuss how to clean the pool. Cleaning a pool can be a bit of a complex process that is divided into several different parts to know what each method/component of cleaning does to make your pool hygienic.
Why do we need to clean the pool?
A pool has to be cleaned for a number of reasons:
In order to avoid skin irritations and waterborne infections, pools must be kept clean. A healthy swimming environment is made possible by the removal of trash and toxins.
- Water Quality: Keeping the water clean, odor-free, and aesthetically pleasing requires regular cleaning to preserve balanced water chemistry.
- Longevity of Equipment: Regular pool maintenance increases the life of pool machinery, such as motors and filters, which lowers the need for pricey repairs or replacements.
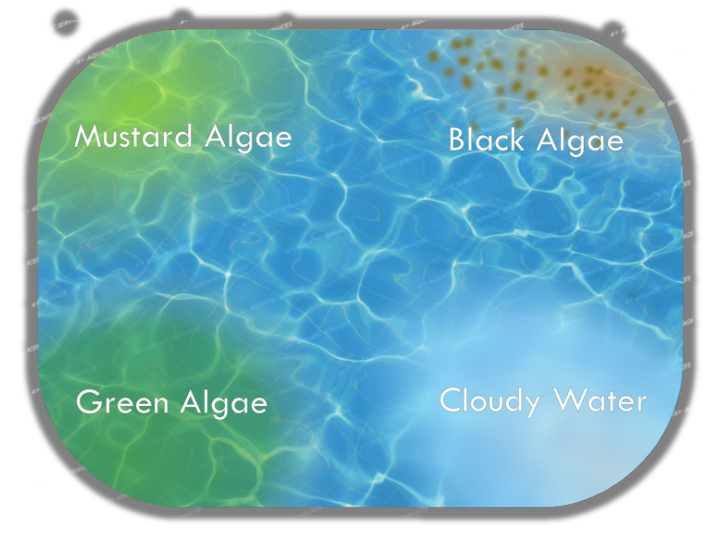
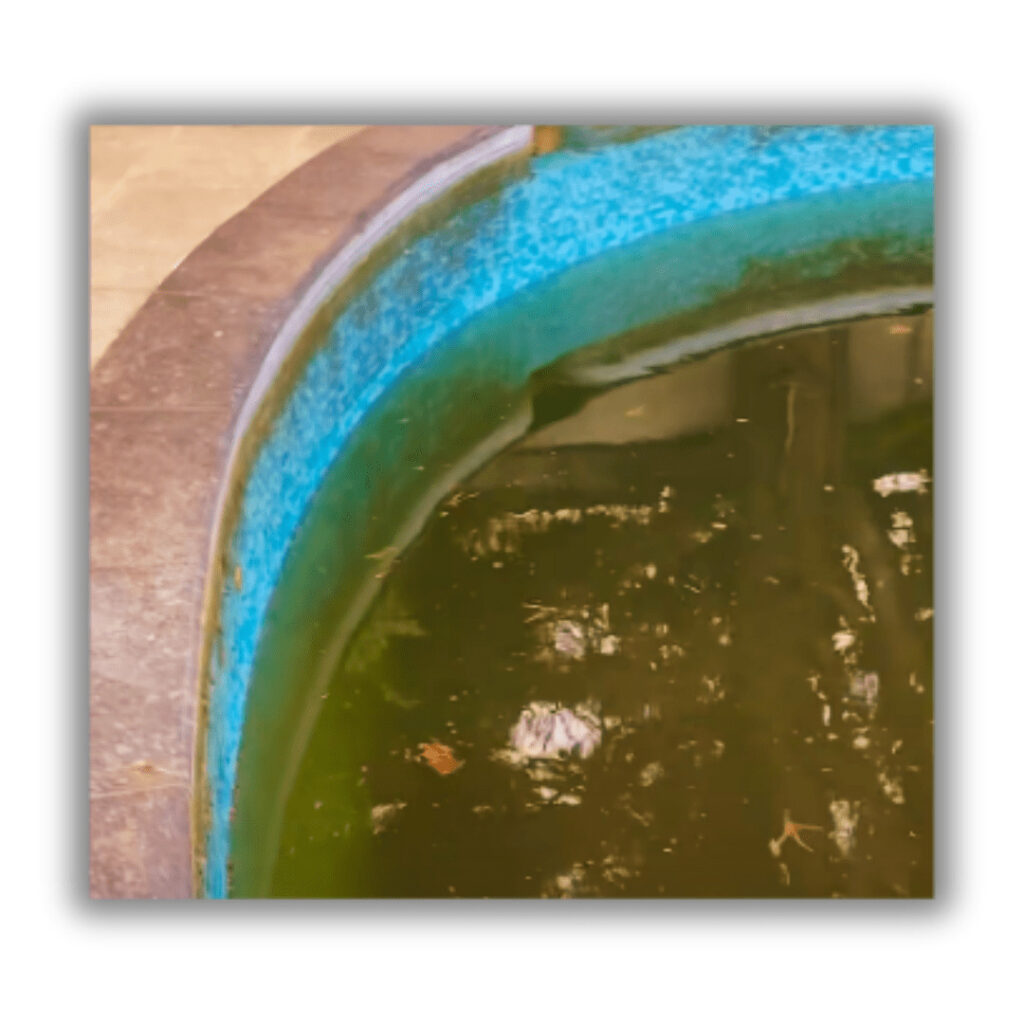
- Preventing algae growth: algae growth can be a serious problem and can lead to diseases so it is important to prevent its growth before it becomes an issue.
- Keeping chemical levels balanced: chemicals such as chlorine are present in a pool and them being in large amount of numbers can lead to problems such as chlorine poisoning, and can also lead to the pool being unbalanced or shocked, and swimming in a pool that is in either of the mentioned conditions can be a big problem.
Why should we maintain the pH and chlorine level?
A crucial part of pool maintenance is preserving the pH and chlorine levels within your pool. We will talk about the benefits of doing this, including preventing the spread of water-borne diseases, maintaining clean, odor-free water, and safeguarding your pool’s equipment.
pH Connection
The acidity or alkalinity of pool water is indicated by its pH level. It is usually advised to keep the pH in the range of 7.4 and 7.6. A healthy pH balance keeps swimmers’ skin and eyes from becoming irritated while also ensuring that the water in the pool is comfortable. A bad pH level indicates high chlorine levels, which can be a nuisance to deal with.
Chlorine as an Antimicrobial
A strong disinfectant, chlorine kills bacteria, algae, and other germs in swimming pools. For the preservation of water purity and to stop the formation of dangerous germs, a suitable chlorine level must be maintained.
Method to Clean pool
We will examine numerous techniques and tactics to maintain the cleanliness of your pool in this part. This covers topics including how frequently to apply chlorine to the pool, when to think about replenishing the water, and what variables can affect how long it takes for cleaning a pool.
Frequency to Put Chlorine in a Pool
The usage of the pool, the climate, and the water temperature all affect how frequently you should apply chlorine to your pool. During the swimming season, pool owners should generally strive to check and regulate chlorine levels a minimum of once every week.
By performing routine maintenance, the pool is kept as a welcoming and secure space for swimmers. However, there are several circumstances when adding chlorine more regularly may be necessary. Examples include hot, sunny weather, which can make chlorine deplete more quickly and require more frequent applications.
Similar to how extensive pool use, like a pool party or a lot of swimmers, may lead to an increase in chlorine consumption and the need for further doses to keep it at ideal levels.
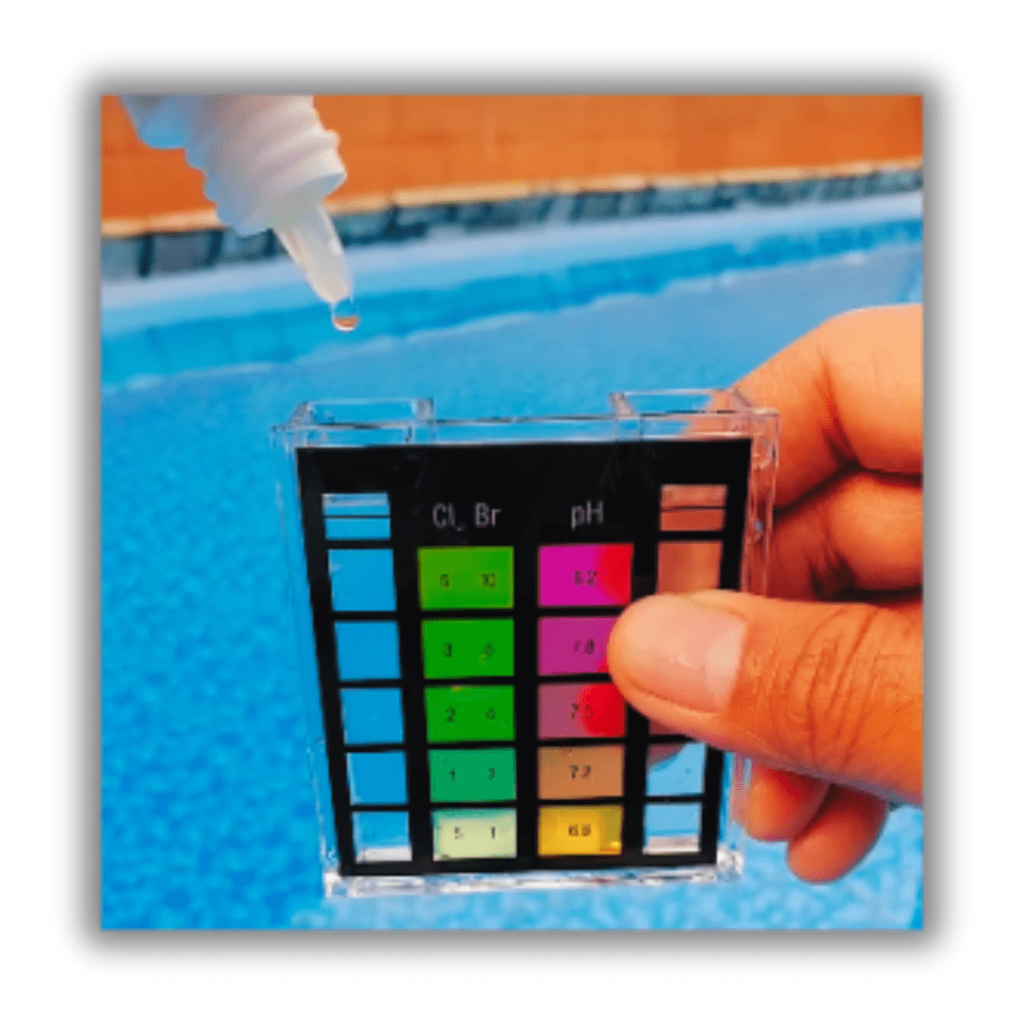
To achieve a balance between efficiency and efficacy in pool cleaning, it is essential to periodically check the chlorine levels via a reputable swimming pool water inspection kit and adjust as necessary. For a clean and secure swimming experience, chlorine levels must be regularly monitored and maintained.
Frequency to Replace Pool Water
The regularity with which you should drain your pool, either totally or partially, depends on a number of variables, with the water’s cleanliness and pool size being the two main considerations. Every three to five years, on average, you might need to replenish some of the pool’s water. Nevertheless, depending on the conditions, this timeline may change.
You can increase the intervals between water replacements by consistently maintaining optimum water chemistry and using efficient filtration and sanitation techniques.
The requirement for water replacement can be influenced by several circumstances. The total dissolved solids (TDS) buildup in the water is a crucial element. Water clarity and balance may be impacted by TDS, which is made up of minerals, salts, and other pollutants that accumulate over time.
It gets harder to keep your pool’s ideal chemical balance as TDS levels rise, and water quality may become hazy or out of balance, requiring water replacement.
Factors That Can Affect How Long It Takes to Clean a Pool
The time needed to completely clean a pool can be greatly influenced by a number of factors. The pool’s size is the first, and possibly most noticeable, consideration. Pools that are larger naturally take longer to clean than pools that are smaller.
The presence and quantity of debris in the pool may play a significant effect; pools near trees or in windy places may gather leaves, dirt, and other material more quickly, increasing the cleaning time.
It matters what kind of swimming pool you have as well. Each type of pool—vinyl, fiberglass, and concrete—has different cleanliness requirements and may require a different amount of time to complete.
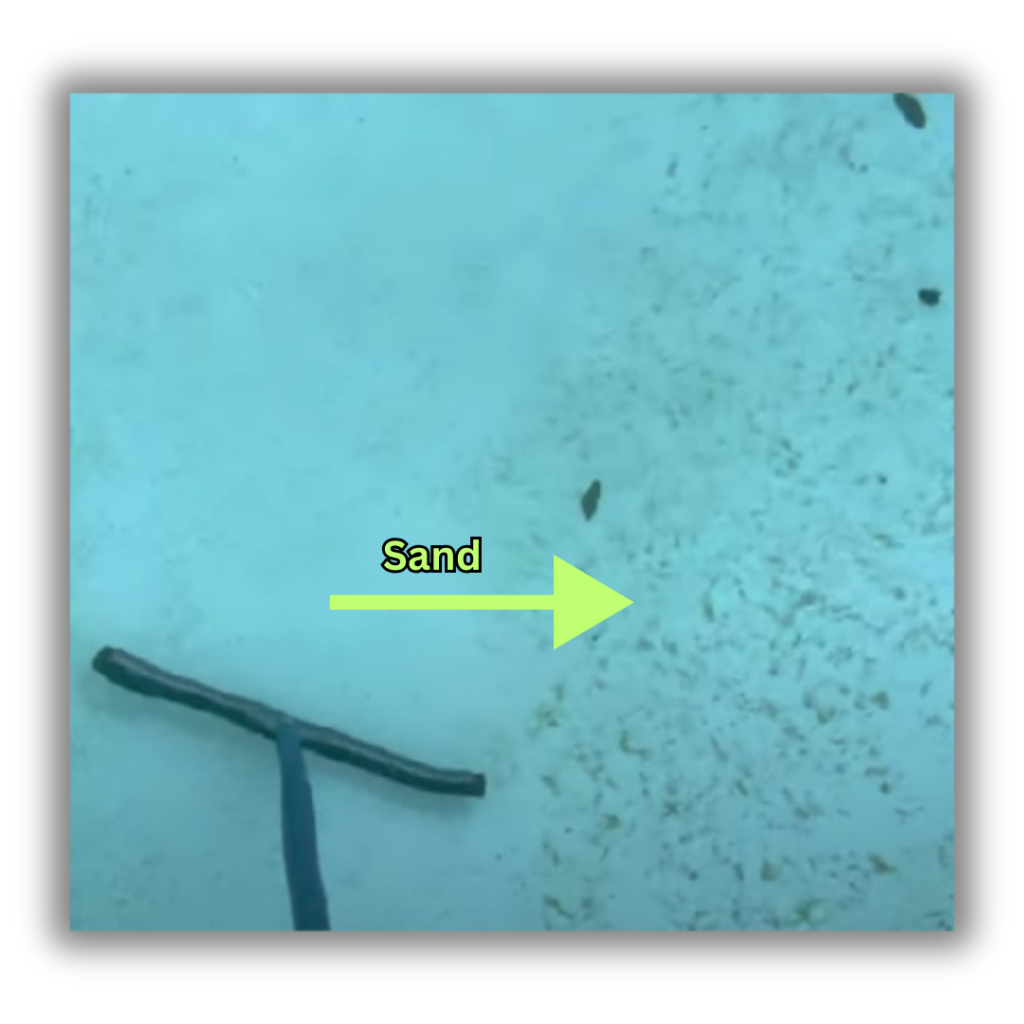
Other important considerations include the effectiveness and state of your pool’s cleaning devices, such as the vacuum, filtration system, and pool skimmer. The cleaning process can be accelerated and improved with properly maintained equipment.
Environmental variables can also be a factor. How regularly and thoroughly one needs to clean the pool depends on a number of variables, including water temperature, sunshine exposure, and weather. In conclusion, factors that must be taken into account for efficient and successful pool maintenance include a pool’s size, the amount of debris present, the type of pool, the effectiveness of the equipment, and environmental factors.
Tips for Cleaning Your Pool Quickly and Efficiently
This section discusses frequent pool mishaps and offers details on how long it usually takes to clean the pool afterwards.
How long does it take to clean a pool after someone poops in it?
It is crucial to thoroughly clean a pool following contamination, such as fecal waste. To safeguard the safety of swimmers, quick action is vital. After such an incident, the amount of time it takes to clean a pool can change based on the quantity of contamination, pool size, and filtration system. In order to make sure the pool is safe to use again, a complete cleaning and disinfection process may take several hours.
How long does it take to clean a pool filter?
In order to keep clear water, pool filters are essential. a number of factors, including what kind of filter (sand, cartridge, or DE) and how well it is maintained, cleaning a pool filter usually takes between 30 minutes and an hour. For optimum filtration throughout the swimming season, it is suggested that you wash the filter a minimum of once a month.
How long does it take to clean a pool with chlorine?
Instead of being a one-time process, chlorine cleaning a pool requires ongoing monitoring and upkeep. Every week, a few minutes at most should be spent adjusting the chlorine levels as necessary. Depending on the size of the pool and the individual product used, “shocking” the pool with a greater dose of chlorine, commonly referred to as “shock treatment,” might require a few hours.
How long does it take to clean a pool after winter?
After a long winter, getting your pool ready for the swimming season involves a number of processes that could take a couple of days to finish. This includes taking off the wintertime cover, washing and reassembling the pool’s machinery, balancing the chemicals, and making sure the water is warm enough for swimming. Depending on variables like the size of the pool and the depth of winterization preparations made, a different amount of time may be needed.
Conclusion
A well-kept pool is a joy and a place to unwind. You can make sure that your pool continues to be a secure and pleasurable area for you and your family by understanding the significance of routine maintenance, optimum pH and chlorine levels, and effective cleaning techniques.
Cleaning a pool is also a really important process and shouldn’t be ignored, now we don’t just know how to clean a pool but why do we need to clean a pool, knowing both of those things is very important for a pool owner, as more knowledge can prove to be helpful if you face any hygienic or any other type of inconvenience in the future.
This guide equips you with the knowledge you need to maintain your pool in top shape all year long, whether you are dealing with typical accidents or seasonal adjustments, we hope that this could come of help to add to your knowledge, being educated about things like these is necessary for even normal people who don’t swim regularly.